Research grant NCN 03420
Research on methods used for determination of measurement strategy during digitalization of shape of three dimensional objects along with optimization of algorithms used for calculating directional measurements position and orientation Principal investigator: MSc Eng. Maciej Karaszewski
The processes of high-resolution digitization of objects’ shapes requires automation because of large number of so called directional measurements which have to be performed. For the average object, usually many more than one hundred measurements are needed. Additionally, automatic calculation of 3D scanner positions (which allow for effective digitization) is straitened because of measurement head’s small working volume and the lack of object’s computer model which is required for collision detection during scanner positioning. Because of those reasons, most high-resolution measurements are performed semi-automatically, with measurement directions shown by experienced operator. This makes the process time-consuming and costly.


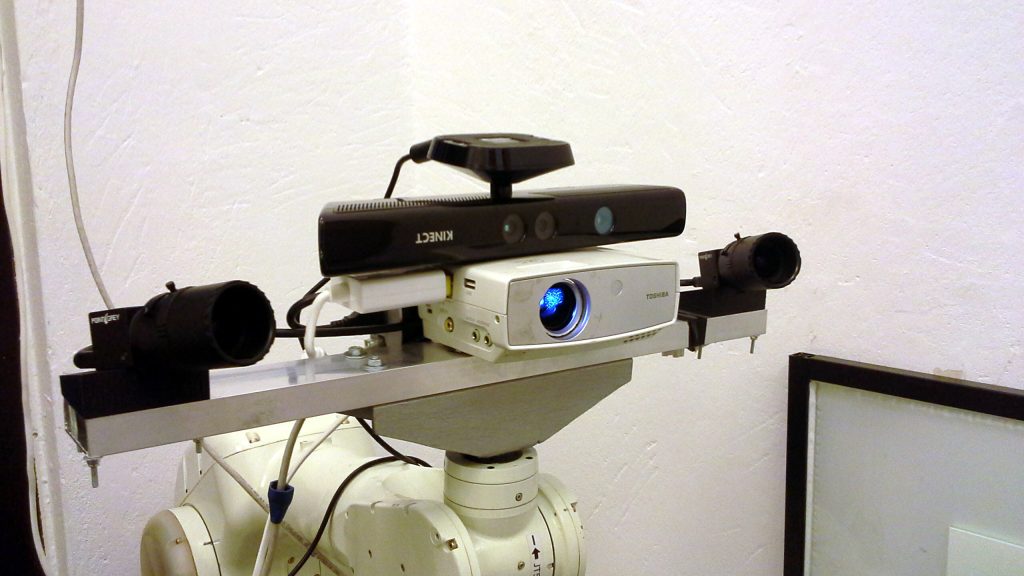
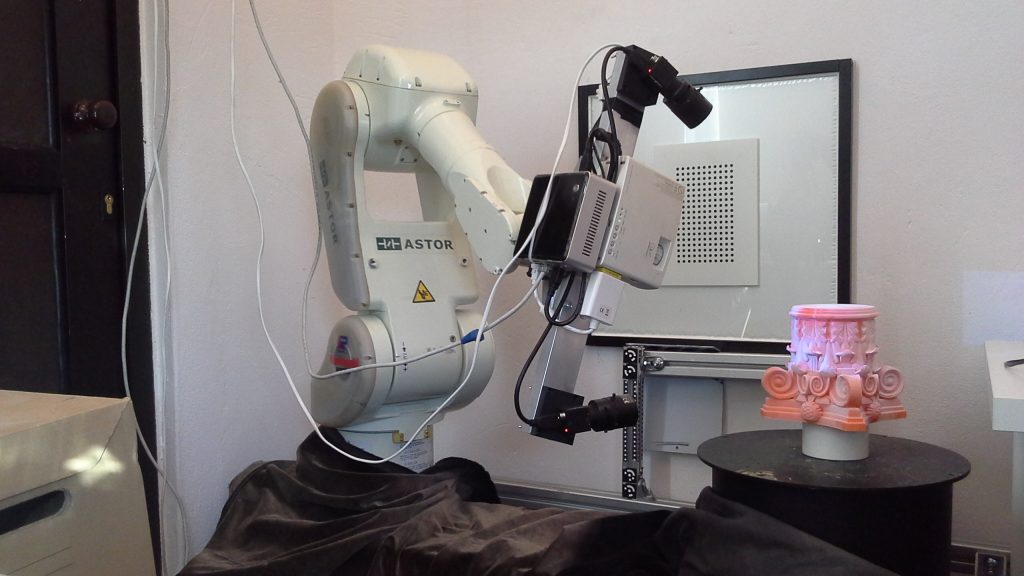
The research on scanner positions’ calculation during digitization process is an active topic in professional literature. Most of presented solutions are however designed with large-working-volume scanners in mind. During the realization of this grant, 13 popular algorithms have been tested with three measurement heads of different working volume sizes. The tests confirmed their low usefulness for high-resolution measurement heads which is caused mainly by the need to perform many measurements of empty space around an object to assess collision-free movement. Measurement plans are also not optimal due to the limited information which can be used in analysis of occlusions and sharp edges presence. To alleviate those problems, the hybrid, two-stage method has been developed. The first stage leads to obtaining low resolution, low quality 3D model of an object (with scanner of large working volume) which is afterwards used to calculate the measurement plan for precise, high resolution, small working volume 3D scanner. Thanks to the digital model, this plan can be optimized to take into account physical parameters of the scanner (working volume size, working distance, allowable surface observation angle, optical paths and occlusions) as well as positioning system’s limits (range, collisions etc.). Moreover, as the plan is calculated before measurements are taken, required scanner positions can be sorted to minimize the time and energy used during positioning. The developed method allows for fully automated digitization of various classes of objects which is usually about 30-40% faster than semi-manual one. Additionally, the process does not require skilled operator’s presence any more.
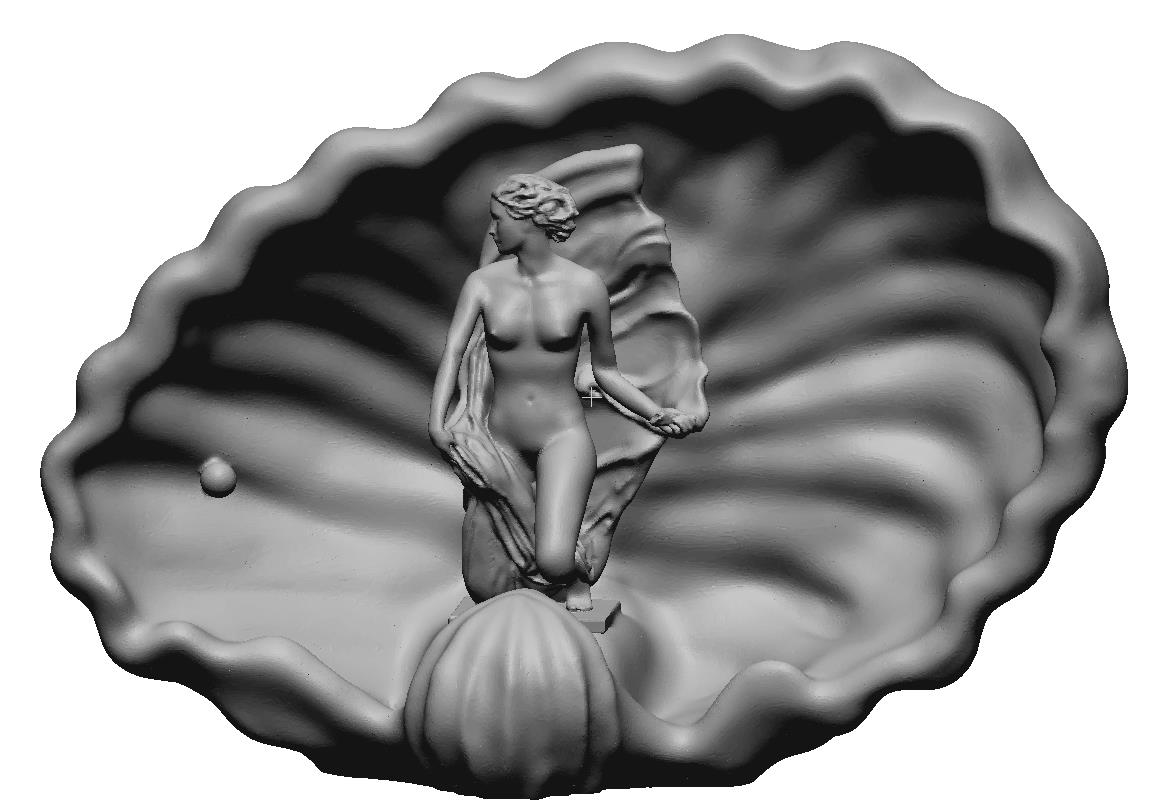
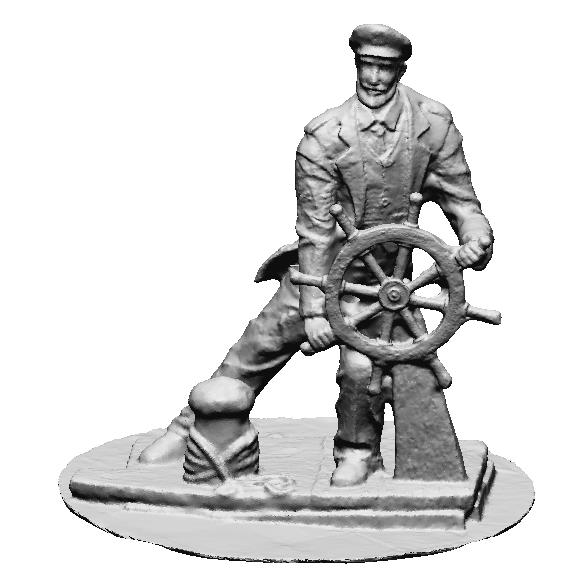
The need of additional equipment (low resolution 3D scanner) rises the cost of 3D digitization station, however the savings caused by time and cost optimization of each scanning process prevail, especially when the station is used for mass high-resolution digitization processes. Such processes are getting more and more popular and the development of faster and more cost-effective method of their execution will surely boost their popularity. High resolution digitization of objects’ shape gains more and more attention in many branches of industry. In case of technical objects, high resolution measurement transfers directly to better accuracy of measurements which is desirable in most applications. One of interesting possibilities created by ease of obtaining high-quality 3D models of objects is the optimization of tolerances of mechanical parts. The new idea is to create parts with less tight tolerances but measure them and pair individual parts which fits to each other with actual dimensions. Similarly, spare parts can be 3D printed to fit well into worn mechanisms. This possibility is currently investigated by for example research agencies of US Army. Apart for mechanical elements, cultural heritage objects can be digitized to create digital copies which apart from visualization purposes can be used for research and analysis by institutions which does not have physical access to artifacts. This significantly boosts the cooperation between various institutions worldwide. Additionally, having at least precise, high-resolution digital copy of an object is a significant asset in the era of growing terrorist attack threats, work of arts robberies and their devastation by religious fanatics. As an example of the demand for high-resolution automated methods of digitization is the interest of the newly developed hybrid method expressed by the Laboratory of 3D Digitization in Museum of King Jan III’s Palace at Wilanów. This institution currently performs the mass digitization of museum’s vast collection of biscuits with measurement heads with resolution of 2500 – 10000 points/mm2.


